|
1. Select add window/ glazed door to nominate numbers per orientation. Note: A maximum of 40 can be entered using the DIY method. The Simulation method should be used if the dwelling contains more than 40 windows. |

|
| 2. Enter the number of windows and glazed doors per orientation in the table provided. | 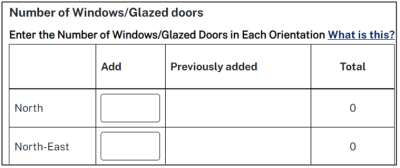
|
| 3. Click Apply to populate the table below where you will enter further details. | 
|
| 4. Once your table is populated, enter each window height and width directly into the corresponding fields. | 
|
| 5. Enter the remaining window details using the Enter Data feature. | |
| a. Select one or multiple checkboxes that will enable you to enter the same values for each selection. | 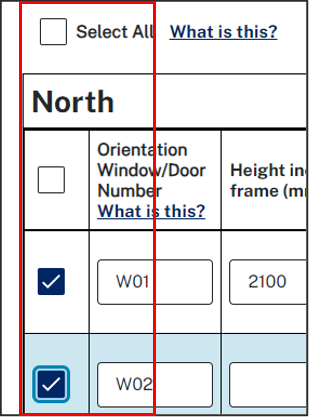
|
| b. Click Enter Data button located above the table. | 
|
|
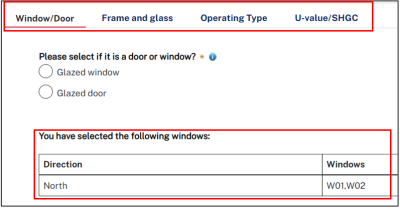
c. A form will open for you to complete the remaining details for the selections made. Note: Ensure you click on each tab and input all the information required. The entries will apply to the windows/doors selected from the table below, and is identified. |
|
|
d. Click Apply to populate the details in the table. Note: The window / glazed door details for the selections made will be updated. Repeat this step until all details are entered. |
|
| 6. To change the orientation of a window or door, select the items to be changed and click Change Orientation. | 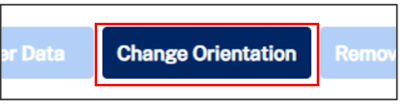
|
Last updated: 03/02/2025